Vision
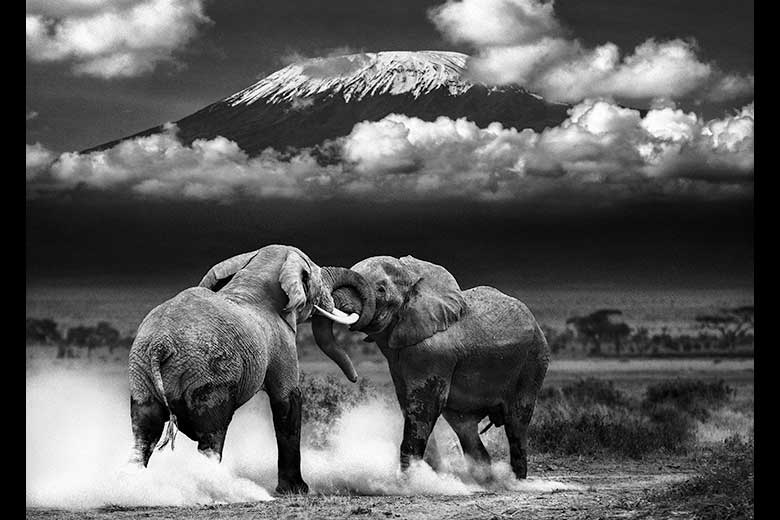
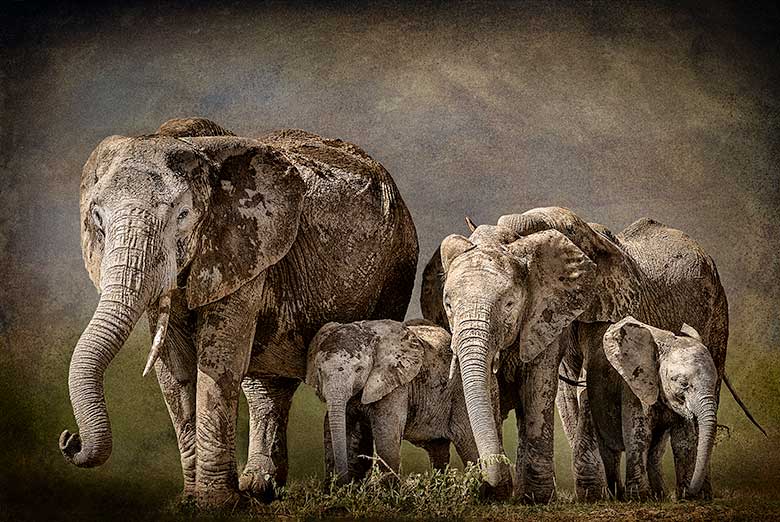
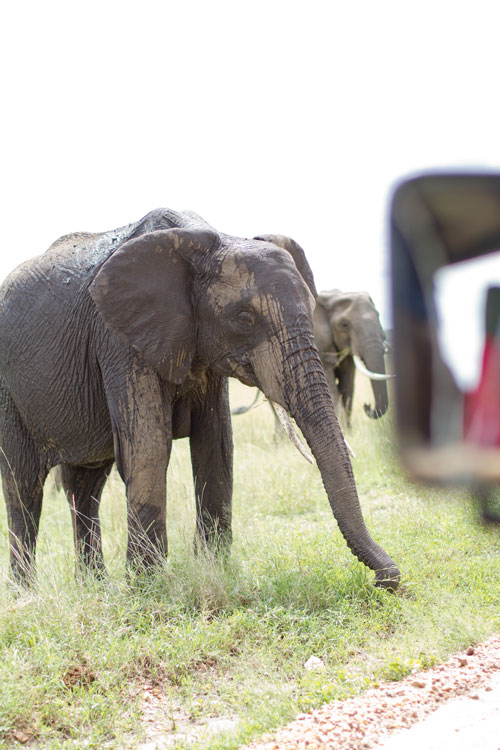
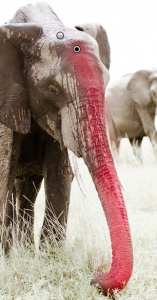
A 50mm lens is not commonly considered a go to lens for an African photo safari. But I was determined to come back with something different from this safari. With this in mind I was intentional to pull out my lesser used lenses. As we sat for nearly an hour with a family of grazing elephant they continued to move closer to our vehicle. In fact, they got so close I was able to capture two elephant and the rear-view mirror of our Land Rover in a single 50mm image.
Long lenses tend to compress perspective in a scene, while a ‘normal’ lens is said to render a perspective of the scene most like human vision. These pictures do look very much like what we saw just looking directly out of our window. Another aspect of 50mm lenses is the ability to use very wide apertures. My Canon EF 50mm f/’1.4 is not very sharp wide open, but I have found that stopped down to f/2 it is tack sharp. So here is what the unedited RAW file looked like.
Editing
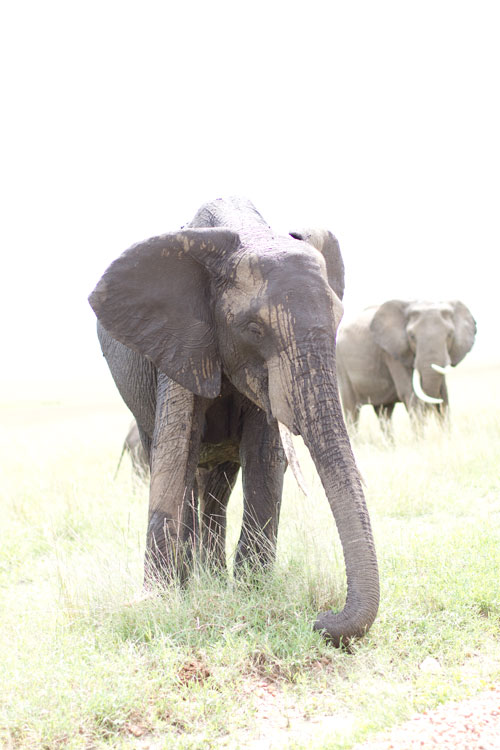
- The first step was to tighten up the drop a little to remove the distractions of the road and eliminate the dead space behind the foreground elephant.
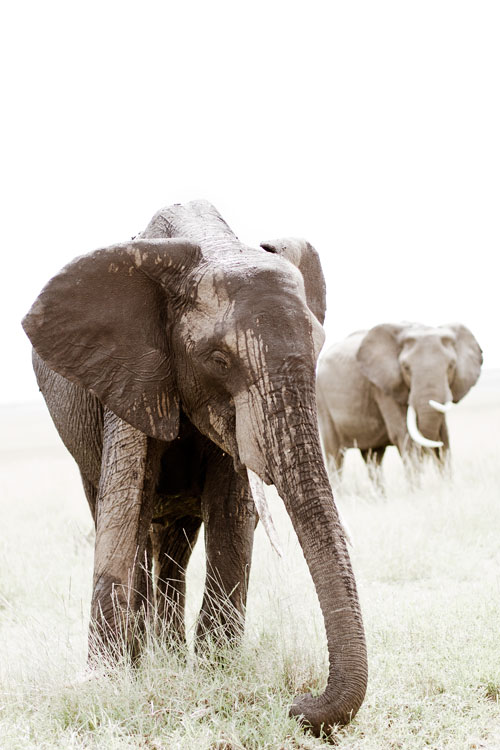
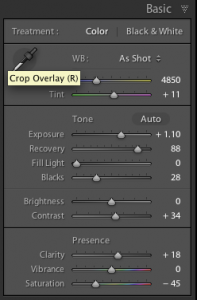
- Next priority was to tweak the Lightroom Basic panel sliders to wash out the background and lighten the elephants.
- It seemed important to retain some of the grass in order to give both elephants a “place” in the image. Without the grass they seemed to be floating. This was accomplished with the recovery slider.
- Increasing the black slider helped give the elephants some definition. An image usually needs some solid blacks to anchor it.
- Boosting clarity adds texture.
- Reducing colour saturation also shifts more attention toward shape and texture. When the eye does not have the visual cue of colour, it will give more weight to information from other sources.
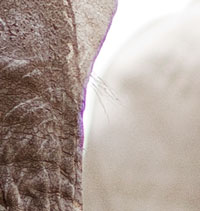
Using wide apertures to photograph subjects with bright backgrounds will usually produce magenta or green coloured fringes along the edges where dark meets light. These are called chromatic aberrations. I was able to eliminate them very easily in this image by reducing the saturation of the Magenta and Purple sliders in the HSL panel.
I thought that the top of the elephant’s head was a little washed out and her trunk needed a little more definition to draw the viewer into the image. I set Lightroom’s adjustment brush to -0.9 exposure and painted detail back in to those areas. You can use the ‘o’ key to see the overlay that you are painting.
The image seemed a little cool, so I used Lightroom’s Split Toning panel to add a little brown to the shadows (hue 41 and saturation 28).
For the last step I needed to send the image to Photoshop. There was actually a third elephant in the scene. You can just see the back end of the little fellow behind his mother’s back leg. I used the clone stamp to create some white space between the mother and son, and then lassoed the son, hit the delete key and chose to fill with content aware fill.
There you have it. Let me know what you think. If you found this at all helpful please use the buttons below to share it on your preferred social media. You can subscribe to these regular tutorials using the RSS feed, follow me on Twitter, like AfricanPhotoArt on Facebook, or circle me on Google+.

Leave a Reply